Patio pavers are an excellent addition to any backyard, providing a clean and insect-free space for your outdoor living area. Installing patio pavers on dirt can be a budget-friendly, seasonal option. In this guide, we will walk you through the step-by-step process of laying patio pavers on dirt, so you can enjoy your outdoor space without professional assistance.
Essential Equipment for Laying Pavers on Dirt
Before beginning the paver installation, gather the necessary tools and materials. Here’s a list of essential equipment and materials for laying patio pavers on dirt:
- Rubber mallet
- Measuring tape
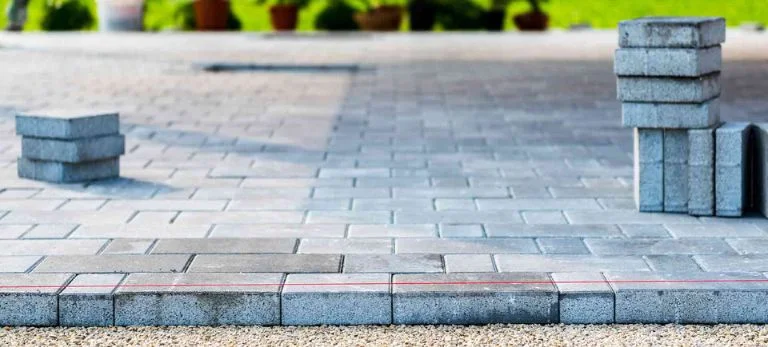
- Pavers
- Work gloves
- Safety glasses
- Rake
- Hand compactor
- Edge restraints
- Stakes
- Sand
- Wood pieces
- Level
- Twine
- Shovel
How to Lay Patio Pavers on Dirt: A Step-by-Step Process
Follow these steps to successfully lay patio pavers on dirt:
1- Assemble the Patio Pavers Area
Start by measuring the patio area and marking the specific part of the ground where you want to install the pavers.
Read Also: How To Find Reliable Handyman
2- Clearance Of Soil & Grass
Remove any grass, plants, and roots from the area and excavate the soil. Professionals typically dig about 7 inches deep before installing pavers.
3- Add a Paver Base
Level the ground and pour a road base material over it. Spread the material evenly using a rake. Next, add a layer of washed concrete sand.
Please Also Explore our updated Service Area Locations:
- Handyman Services in Annandale, VA
- Handyman Services in Burke, VA
- Handyman Services in Falls Church, VA
- Handyman Services in Mclean, VA
- Handyman Services in Springfield
- Handyman Services Lorton, Virginia
- Handyman Services Clifton, Virginia
4- Add Paver Restraints
Install edging stones to create a defined border and prevent soil from spilling over the edges. If your ground already has a clear border, you may skip this step.
5- Place the Pavers
Arrange the paver stones symmetrically on the ground. Use a string or thread for accurate placement. Make sure to remove any unwanted mortar that could cause dryness in the pavers. Cut pavers if needed to fit the area.
6- Seal Pavers
Use a pressure washer to remove debris from the paver stones.
7- Fill the Gaps
Spread a thin layer of sand over the laid pavers, using a broom to sweep it into the gaps between them.
8- Compact Everything
Tamp the pavers down one more time to set them into the sand base. If needed, sweep more sand into the gaps.
By following these detailed steps, you can successfully lay patio pavers on dirt and create a beautiful but practical outdoor space in your backyard. With patience and the right tools, you can turn any backyard into a relaxing and inviting oasis.
For more information, read the blog post “Where Not To Caulk Around Windows” on our website. Need assistance? Give them a call at 703-503-9699 or fill out our Request Service form to access the best handyman services in Fairfax, VA.
For more information Read our blog: Where Not To Caulk Around Windows